Pages

Showing posts with label Earth Ninja. Show all posts

Friday, 13 June 2025

Make Seed Starter Pots Out Of Highlighter Packs

  • Give them a bath
    Rinse out each empty highlighter tube with warm, soapy water until it’s squeaky-clean. Let it dry completely.

  • Cozy up with soil
    Fill the tube about ¾ full with potting soil. Gently tap it on the table to settle the dirt.

  • Plant a tiny seed
    Tuck a small seed into the soil—sunflower, basil, or your favourite flower—then cover it with a thin layer of soil.

  • Water with care
    Use a dropper or small spoon to give your seed just a little sip of water—too much can squish the soil!

  • Find a sunny spot
    Place your new “green capsule” on a windowsill where it can soak up gentle sunlight.

  • Watch the magic happen
    In a few days, you’ll see your sprout peek out. When it grows big enough, you can carefully plant it in a bigger pot or in the garden—highlighter tube and all!

  • Make A Fairy House Out Of A Coke Bottle

    What you’ll need

    • 1 clean, empty plastic Coke bottle (any size)

    • A pair of safety scissors (ask an adult for help!)

    • Non-toxic acrylic paint or water-based spray paint

    • A small paintbrush or sponge

    • Natural decorations: twigs, pebbles, leaves, bits of moss

    • Craft glue or a hot-glue gun (grown-up use only)

    • Optional sparkles: glitter, tiny pom-poms, ribbon


    Step-by-Step Magic

    1. Give it a bath
      Rinse out your bottle really well so it’s squeaky-clean—no sticky soda left behind! This helps paint stick and keeps fairies happy.

    2. Create the door and windows

      • With safety scissors, carefully cut a small arched “front door” on one side of the bottle (about as big as your palm).

      • Cut one or two little round or square “windows” above the door. (An adult can help make these cuts neat and safe.)

    3. Paint your castle!

      • Lay the bottle on its side or stand it up (with paper underneath).

      • Paint the entire outside in a soft, dreamy color—mint green, sky blue, pastel pink… whatever feels fairy-tastic!

      • Let it dry completely (about 20–30 minutes).

    4. Add natural flair

      • Glue small twigs around the base to look like fence posts.

      • Stick on pebbles to make a tiny path winding up to the door.

      • Tuck bits of moss or small leaves under the “roof” edge for a cozy, earthy look.

    5. Fairy-friendly details

      • Use ribbon or tiny pom-poms to make a little porch awning above the door.

      • Dab on a bit of glitter where sparkles might catch the morning dew (optional, but oh-so-magical!).

    6. Plant and invite

      • Find a quiet spot in your garden or a potted plant.

      • Gently press the fairy house into the soil so it stands firmly.

      • Whisper an invitation: “Fairy friends, come play and stay!” 🌸


    Why it’s a Wonderful Hack

    • Saves Plastic: Instead of tossing your bottle, you’re giving it a second life—one that brightens your garden.

    • Protects Nature: Fewer bottles in landfills means less pollution in our parks, rivers, and oceans.

    • Sparks Creativity: You’re building handy craft skills and telling stories with your fairy home.

    • Spreads Joy: Neighbors and garden visitors will smile at your tiny, colorful castle!

    Make An Eco Adventure Pack!

    • Grab a small pencil case (you’ll find plenty of cute ones at Home Bargains!).

    • Fill it with:

      • A foldable tote (for ASDA shopping, so no plastic bags)

      • A colorful travel mug (to enjoy your hot chocolate in Tomach and avoid a paper cup)

      • A bamboo spork or small reusable cutlery set (for your picnic)

      • A cloth napkin (to wipe sticky fingers without paper towels)

      • A silicone snack bag (for any bits of fruit or treats)—no single-use bags needed!

    How to use your Eco Adventure Pack:

    1. ASDA: Clip the foldable tote to your bag and skip the plastic carrier.

    2. Picnic: Pull out your bamboo spork, cloth napkin, and snack bag for zero-waste munching.

    3. Tomach hot chocolate: Hand over your travel mug—many cafés even give you a little discount for bringing your own!

    4. Invergordon liners: Turn picking up any stray bits of litter into a mini-game—stash them in your snack bag until you can recycle or bin them properly.

    5. Home Bargains: After you pick up your new notebooks and pens, tuck your Eco Adventure Pack into your fresh pencil case—ready for next time!

    The Great Supermarionation Sampler Notebook!

    What you’ll need

    • The front and back DVD covers (cardstock)

    • A stack of plain or lightly lined paper (cut to the same size as the covers)

    • A hole punch (or a sharp awl and a bit of adult help)

    • Some colorful ribbon, yarn, or strong string

    • Optional: stickers, markers, washi tape for decorating


    Steps

    1. Measure & Trim

      • Place your paper stack between the two covers and make sure everything lines up neatly.

      • If any paper sticks out, trim it so it matches the covers’ edges.

    2. Punch the Holes

      • Along one long side (the “spine”), mark two or three even spots (about 1 cm from the edge).

      • With help if you need it, punch holes through both covers and all the paper at once.

    3. Bind with Ribbon (or Yarn)

      • Cut a length of ribbon or yarn twice as long as the spine.

      • Thread it in and out of the holes, stitching the pages and covers together like a little “sewing” project.

      • Tie a secure knot or bow at the spine’s top or bottom—however you like!

    4. Decorate & Personalize

      • Add stickers, draw your favorite characters (maybe a tiny Stingray or Thunderbird!), or wrap washi tape around the edges.

      • Write your name and date on the first page to make it extra special.

    5. Use & Enjoy

      • Jot down your “super” ideas, draw mini-comics, or keep track of your recycling mission each week.

      • Every time you open your notebook, you’ll remember how you helped the planet by reusing and recycling!


    ✨ Why it’s a win for our planet:

    • Reduces waste: Keeps those sturdy covers from becoming landfill.

    • Saves resources: Gives new life to existing materials instead of buying new notebooks.

    • Sparks creativity: Every time you decorate and use it, you’re a craft-wise eco-champion!

    Save The Seeds!

    🌍💚 "Scraps to Seeds" Life Hack 💚🌍
    Turn food scraps into mini gardens!

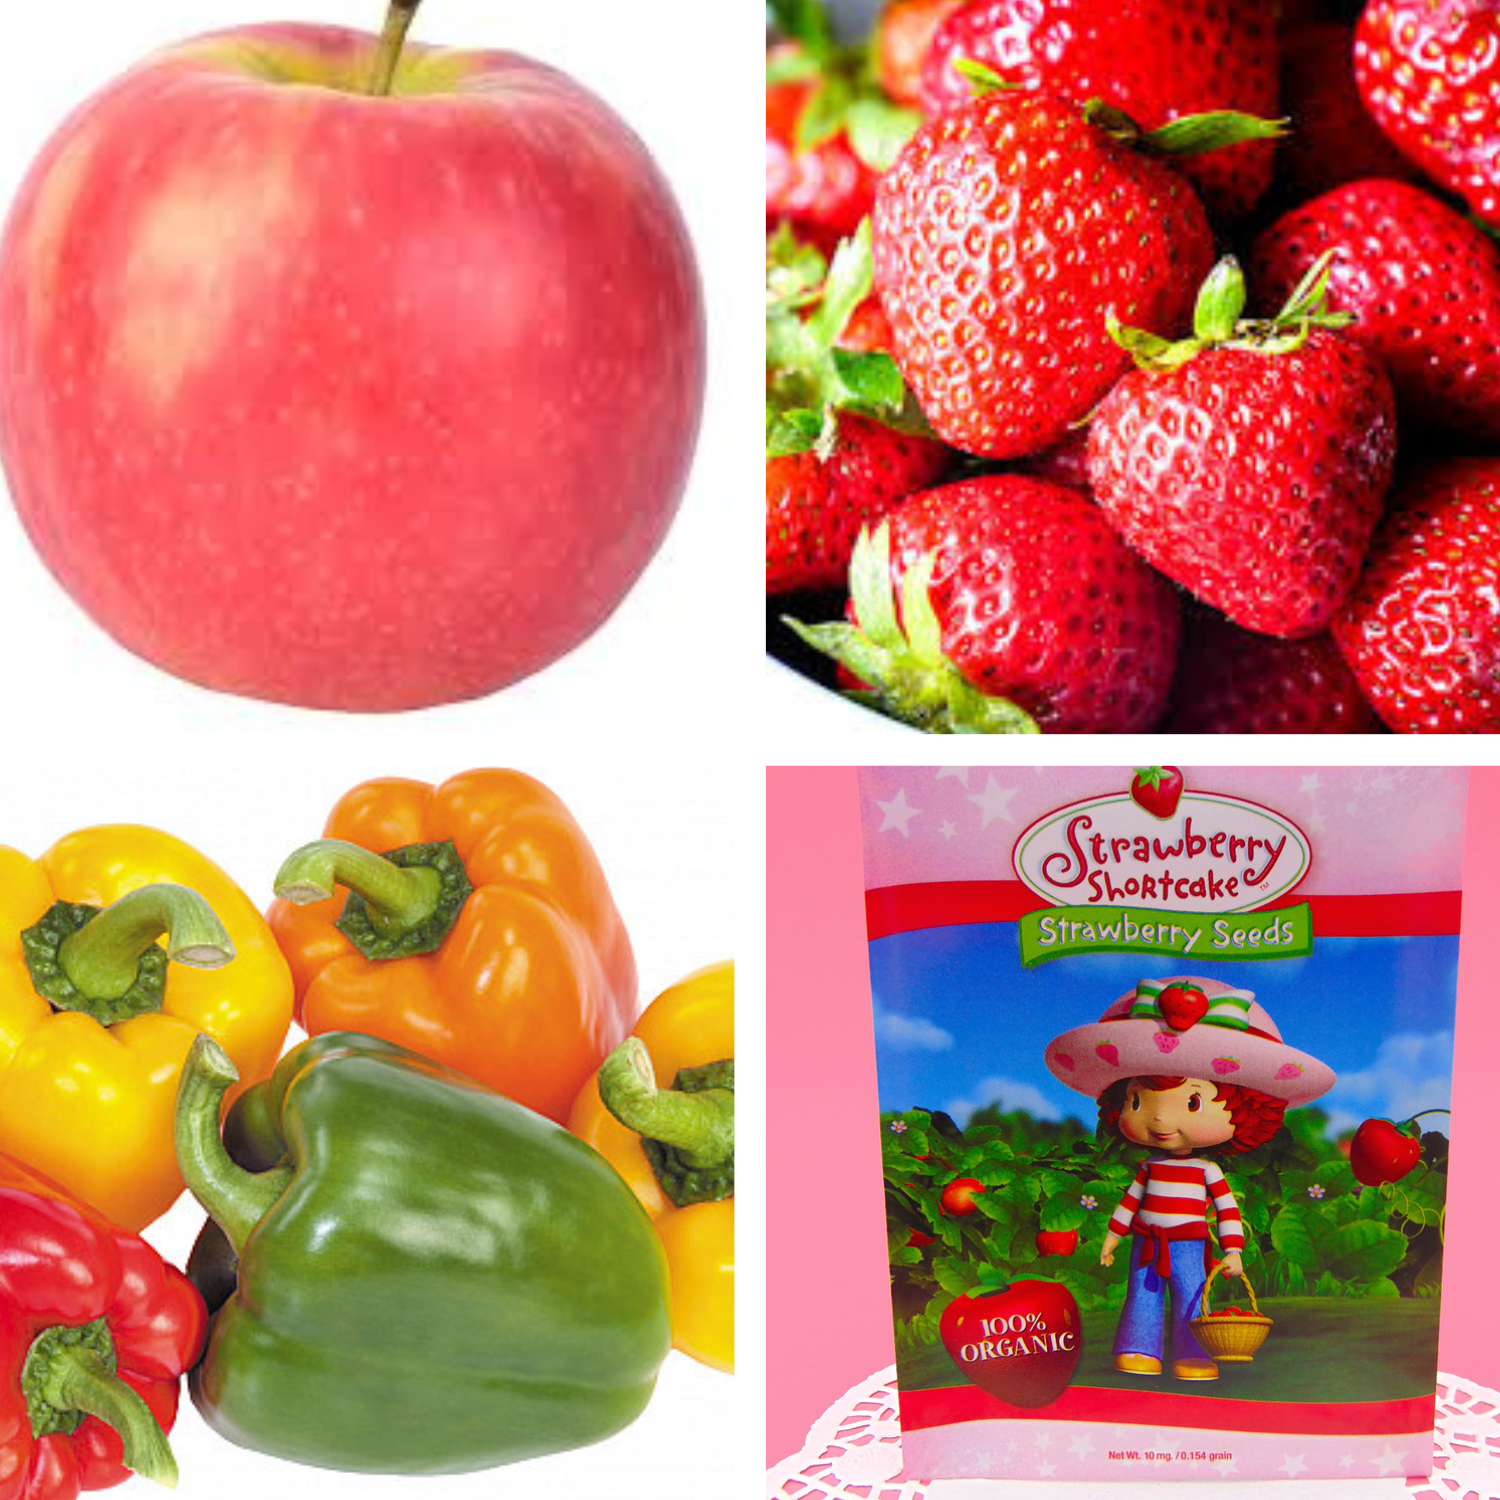
    If your breakfast includes fruit like apples, strawberries, tomatoes, or even peppers—save the seeds! After breakfast:

    1. Wipe the seeds clean with a napkin.


    2. Pop them into a small tub (like a washed yogurt pot or butter tub).


    3. When you get home, ask if you can plant them in soil—even just in a reused carton or pot on the windowsill!


    4. Water gently and wait for a baby plant to grow. It’s like giving breakfast a second life!


    ✨ It's a fun way to reduce waste and grow your own little breakfast garden—all from leftovers! You and your support worker could even keep a little “Breakfast Plant Diary” to track what sprouts. 🌱🥰

    Make Reusable Coke Can Pencil Pots

    What you’ll need

    • 1 empty, rinsed Coke Zero can (ask an adult to help remove and smooth the top edge)

    • Washi tape, ribbons, stickers, scraps of colourful paper or fabric

    • Non-toxic glue or double-sided tape

    • Safety scissors (and an adult helper!)


    Steps

    1. Give it a gentle clean

      • Rinse out your empty can with warm water until all soda residue is gone.

      • Let it dry completely.

    2. Smooth the edges

      • With an adult’s help, use pliers or a can opener to gently remove and file down any sharp rim.

      • Wrap the top edge in a strip of washi tape or a band of fabric to make it nice and smooth.

    3. Dress it up with love

      • Wrap the outside with colourful paper or fabric, trimming to size.

      • Secure with glue or double-sided tape.

      • Add stickers, doodles, or tie a pretty ribbon around the middle—make it your very own masterpiece!

    4. Fill and enjoy

      • Pop in your pencils, markers, crayons (even paintbrushes!), and place it on your desk.

      • Every time you reach for a pencil, you’ll smile knowing you’ve given new life to what would’ve been thrown away.


    Why it’s awesome for our planet

    • Reduces waste: Instead of tossing cans into the bin, you’re turning them into something useful.

    • Saves resources: You’re reusing metal, so fewer new materials need to be made.

    • Sparks creativity: Crafting your own pencil pot is fun, gives you a sense of pride—and helps the Earth at the same time!

    “Small acts of kindness to nature grow into big waves of change.” 🌱

    Scotch Egg Seeds

    Turn each little cup into a mini pot for growing herbs or flowers. Kids love watching tiny seeds sprout, and you’ll be keeping plastic out of the trash!

    1. Clean & Label

      • Rinse the carton well and let it dry.

      • Use a bit of colorful washi tape or a washable marker to write what you’ll plant in each cup (e.g., “Basil,” “Marigold,” “Mint”).

    2. Add Soil

      • Fill each cup about ¾ full with potting soil.

      • Leave a little space at the top so seeds have room to grow.

    3. Plant Seeds

      • Pop 2–3 seeds into each cup, then gently cover with a thin layer of soil.

      • Give them a light sprinkle of water (just enough to moisten the soil).

    4. Find a Sunny Spot

      • Place your carton on a windowsill or anywhere that gets plenty of light.

      • Check daily: if the soil looks dry on top, give it a little drink.

    5. Watch & Care

      • Little shoots will pop through in a week or two—perfect for keeping kids curious and excited!

      • Once the seedlings are a few inches tall, you can carefully transplant them (carton and all!) into bigger pots or your garden bed. The carton will break down naturally in soil.

    ✨ Why it helps:

    • Reduces waste: Keeps the carton out of the bin.

    • Teaches kids about nature: They learn where food comes from and how plants grow.

    • Fresh herbs & blooms: Enjoy the results in your kitchen or in a sunny spot indoors!

    Let's Save Our Little World With Sonic!

    What you’ll need:

    • 1 small cardboard box (like your Truffle Shuffle one)

    • Cardboard packaging (like from your Sonic items)

    • Tape, glue, scissors (ask for help if needed)

    • Markers, crayons, stickers (optional – for decorating!)


    🧺 Step-by-step:

    1. Turn the Truffle Shuffle box into your “Eco-Treasure Chest” – decorate it however you like, maybe even draw Sonic and friends protecting the planet! 🌈

    2. Cut up the Sonic mug/socks packaging into small shapes to make little divider walls inside the box. You can separate the box into mini compartments!

    3. Use the box to collect reusable tiny treasures, like:

      • Bread tags (for art or recycling)

      • Bottle caps (to bring to recycling drop-offs)

      • Bits of string, ribbon, or paper scraps

      • Tiny toy parts or lost buttons to fix or reuse

      • Seeds from fruit to try planting! 🍎🌱

    4. Name each compartment, like:

      • ♻️ “Bottle Cap Bank”

      • 🌿 “Plant Me Seeds”

      • 🧵 “Scrappy Bits for Art”


    🌍 Why it’s awesome:

    • You reuse packaging instead of throwing it out

    • You sort tiny things that would otherwise go to landfill

    • You build your own eco station, just like a superhero’s base! 🦸‍♀️💚

    Going Eco Friendly At The Works & Burger King

    Bring a fun tote bag and your own tidy kit!

    🛍 At The Works:
    Instead of using plastic or paper bags, bring a reusable tote bag – one with your favourite characters or colours! You can even decorate it at home with stickers, patches, or fabric pens. That way, you’re helping the planet and showing off your style!

    🍔 At Burger King:
    Pack a little “tidy kit” in your bag — just a napkin or reusable cloth, and a small zip-up pouch for rubbish. After your meal, gather any wrappers or cups and make sure they go into the right bin — or even better, recycle if you can! 🌍✨

    Reuse For McDonald's!

    Before you leave for McDonald’s, pack a small “Eco Adventure Kit” in your bag! It could include:

    • 🥤 A reusable straw (metal or silicone)

    • 🍟 A little cloth napkin instead of paper ones

    • 🍔 A small reusable bag or container in case you have leftovers

    Why it helps:
    Using your own items cuts down on single-use plastics and paper waste. It’s like being an Earth Superhero in disguise! 🌍💚

    Bonus fun: Give your kit a name! Maybe… The Eco Picnic Pack! And pretend you're on a secret mission to protect nature while enjoying your meal.